🌊
2025.05.20 - 2025.06.08
Qistina Nuralya Maria Binti Azly / 0354180
Sonic Design / Bachelors of Design (Honours) in Creative Media / Taylor's University
PROJECT 2: AUDITORY IMAGING
Table of contents (Quick links)
1. MODULE INFORMATION BOOKLET (MIB)
5. REFLECTION
1. MODULE INFORMATION BOOKLET (MIB)
This is the Module Information Booklet for this module:
2. LECTURES
Week 5
Physical Class
We did our Layering Sound Exercise where we all tried different layering techniques and SFX Tools to create an impactful explosion. After that we also did our own layering for monster and alien voices using the sample_voice.mp3 we've used for previous exercises.
Week 6
Online Class
Due to road closures because of the ASEAN Summit, this week's class was held online. We learned about the proper workspace and workflow to work with in Adobe Audition for our current and future projects. These were the notes I took:
- Name your tracks for better organisation
- Cut waveforms when they reach the red line (to avoid "pops")
- Fade in and out audio clips (slightly)
- Make sure audio doesn't breach above 0 decibel
- Keep Master Track below 0 decibel in the mixer
- Group audio tracks by creating bus tracks and keep them near Master Track in the mixer
- Each sound effect should have their own singular track
- Make sure that when exporting Audition file, audio files are "embedded" within the file so now audio will not be missing.
Week 7
Physical Class
Feedback session for Project 2.
Feedback:
- There is no need for a time-jump between day/night because you are only working with a 2 minute timeframe; choose between the two. (I decided to choose "night" )
- If you want to add cicada noises or other bug sounds, make sure they come in clusters that fade in and out one after another to give that "movement" effect.
3. EXERCISES
Week 5 - Layering Sound
During class, Mr. Razif taught us how to explore with layering sounds to make a single sound effect. Sometimes a simple sound effect like an explosion can still be expanded using the same audio file again and again but layered in a way where the new explosion audio can be more interesting/impactful.

I layered almost as per what Mr. Razif instructed, but added my own quirks to it as well. I added additional blast effects that continued after the initial boom and additionally added one more layer of buildup to the explosion.

For one of the "after explosion" sounds, I added the Phaser effect to a copy of the explosion sound. I used the "Zed Lepplin" preset with a few adjustments.
Audio Preview :
~~~
After the class exercise, we were tasked to make changes to the sample_voice.mp3, that we had use in previous exercises, and make two different voice effects by layering the sounds. These two different effects being Monster and Alien.
Original Voice:
Monster:

For Monster, I had two layers of the sample voice: one with a simple pitch-shifted effect and another with a deeper pitch and also with added reverb to give a more foreboding voice effect.

Audio Preview:
Alien:

Before I actually added effects, I reversed the audio file to give more of a convincing feel that the voice it coming from an alien.
Similar to Monster, I had two layers, one with the higher pitch shifter and another with a higher pitch and to give a more alien effect, I added Phaser and Chorus effects. For Chorus, I used 2 voices to further give a more otherworldly essence.

Audio Preview:
Download all the audio files of this exercise here.
4. AUDITORY IMAGING
Task: Students are given a task to create an audio image using any of the combination below. The audio should create an image for the first-person point of view to be able to visualize on what is going on based on just the audio tracks. It should be able to tell a story for the chosen scenario. Students are not allowed to use any voice or dialogs.
The choice scenarios are:
1. Wildlife + Background
2. Everyday Home Life + Background
3. Cities + Transport + Exterior Atmosphere
4. Industry and Electronic sounds + Background
5. Weather + Background
6. Market + Rural atmosphere + Background
4.1 Process
I decided to choose Wildlife + Background because I enjoy wildlife documentaries and often hours on end watch Nat Geo or Animal Planet and hope that the shows on weren't the silly sitcom-esque shows about a zoo or something similar.
Before starting on the actual audio editing, it was advised we made a storyline to create a clearer guide for us to use when we make our audio sequence.
~~~
Storyline
Initially, I went with a storyline about a photographer trying to photograph a rare bird but there was a time jump between day and night and when I asked Mr. Razif about it he said I'd only need to either to day OR night. So I redid my storyline:
~~~
Audio Editing
I then went to both BBC Sound Effects and Freesound to find and download the almost perfect sound effects/ambience that I'd use for the Project.

Because of a previous draft, I had a few extra unused audio files, but in general, the list is following what was needed from the written storyline for the time being.

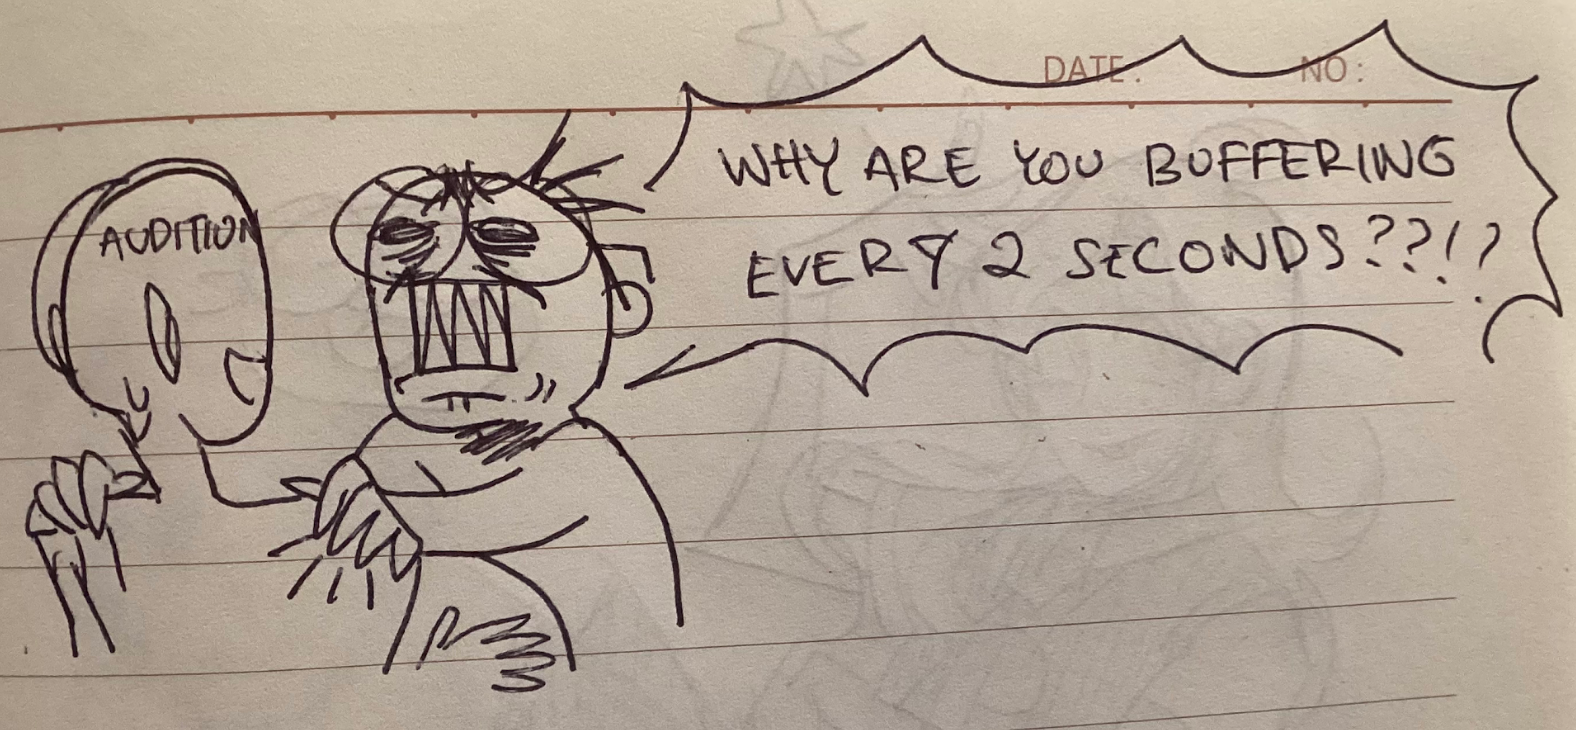
I imported all the audio files into a multitrack session. After which I realised that my audition kept becoming buggy and that I couldn't really find a proper fix the problem. S0 I went through the whole project with the audition buffering every time I made a change, big or small (╥‸╥)

With the amount of audio files, I of course had to group them up with bus tracks. I grouped them up via the scenes based on the storyline:
- Walking from car
- Approaching owl and wolves howl in distance
- Walking past a stream of water
- Running to cave with bats

To make certain sound effects more believable, I added reverb effects to them. Mainly, I used the reverb effect on a Branch Snap. But I realised the audio started peaking so i also added the Hard Limiter filter.

One of the audio files had some unneeded reverb so I used DeReverb to reduce the effect so it matched with the forest setting.


Similar to the unneeded Reverb, a few of the audio files also had background noises that when layered with other audios, made the session sound too noisy. So, I added Noise Reduction to them.

For Scene 4, I wanted the bat noises to seem more random so I made it so it kept panning left and right in quick succession so it felt like the bats are surrounding the listener.

As the running footsteps got closer to the cave, I wanted there to gradually be reverb too. So I added a preset Reverb to the Footsteps on a separate track.

After completing everything, i adjusted the volumes of each track in the Mixer view. And also to make sure there no peaks in the overall session.
4.2 Final
Audio Preview:
Link to Audition file and audio file: https://drive.google.com/drive/folders/1Ky-Rz2zgSl0G_rX6FGicAc_btijdlZpe?usp=drive_link
5. REFLECTION
I was hoping to be able to make a more horror-esque audio file in the beginning but I realised I should try and treat this Project as a practice first before I get too ambitious. Even though my end product was simple, I enjoyed the process of it! I liked having to go back and forth when editing the audio session while closing my eyes to see what differences little changes did to the whole feel and sequence of the session. I will say that it's not the most perfect in terms of timing; of which I hope to improve on for future projects.
Overall, this Project was neat to work on but I still have a ways to go in becoming a bettter sound designer (っ- ‸ - ς)
🌊
Comments
Post a Comment